How to sign the dll with strong name
Step 1
First you create a strong name.
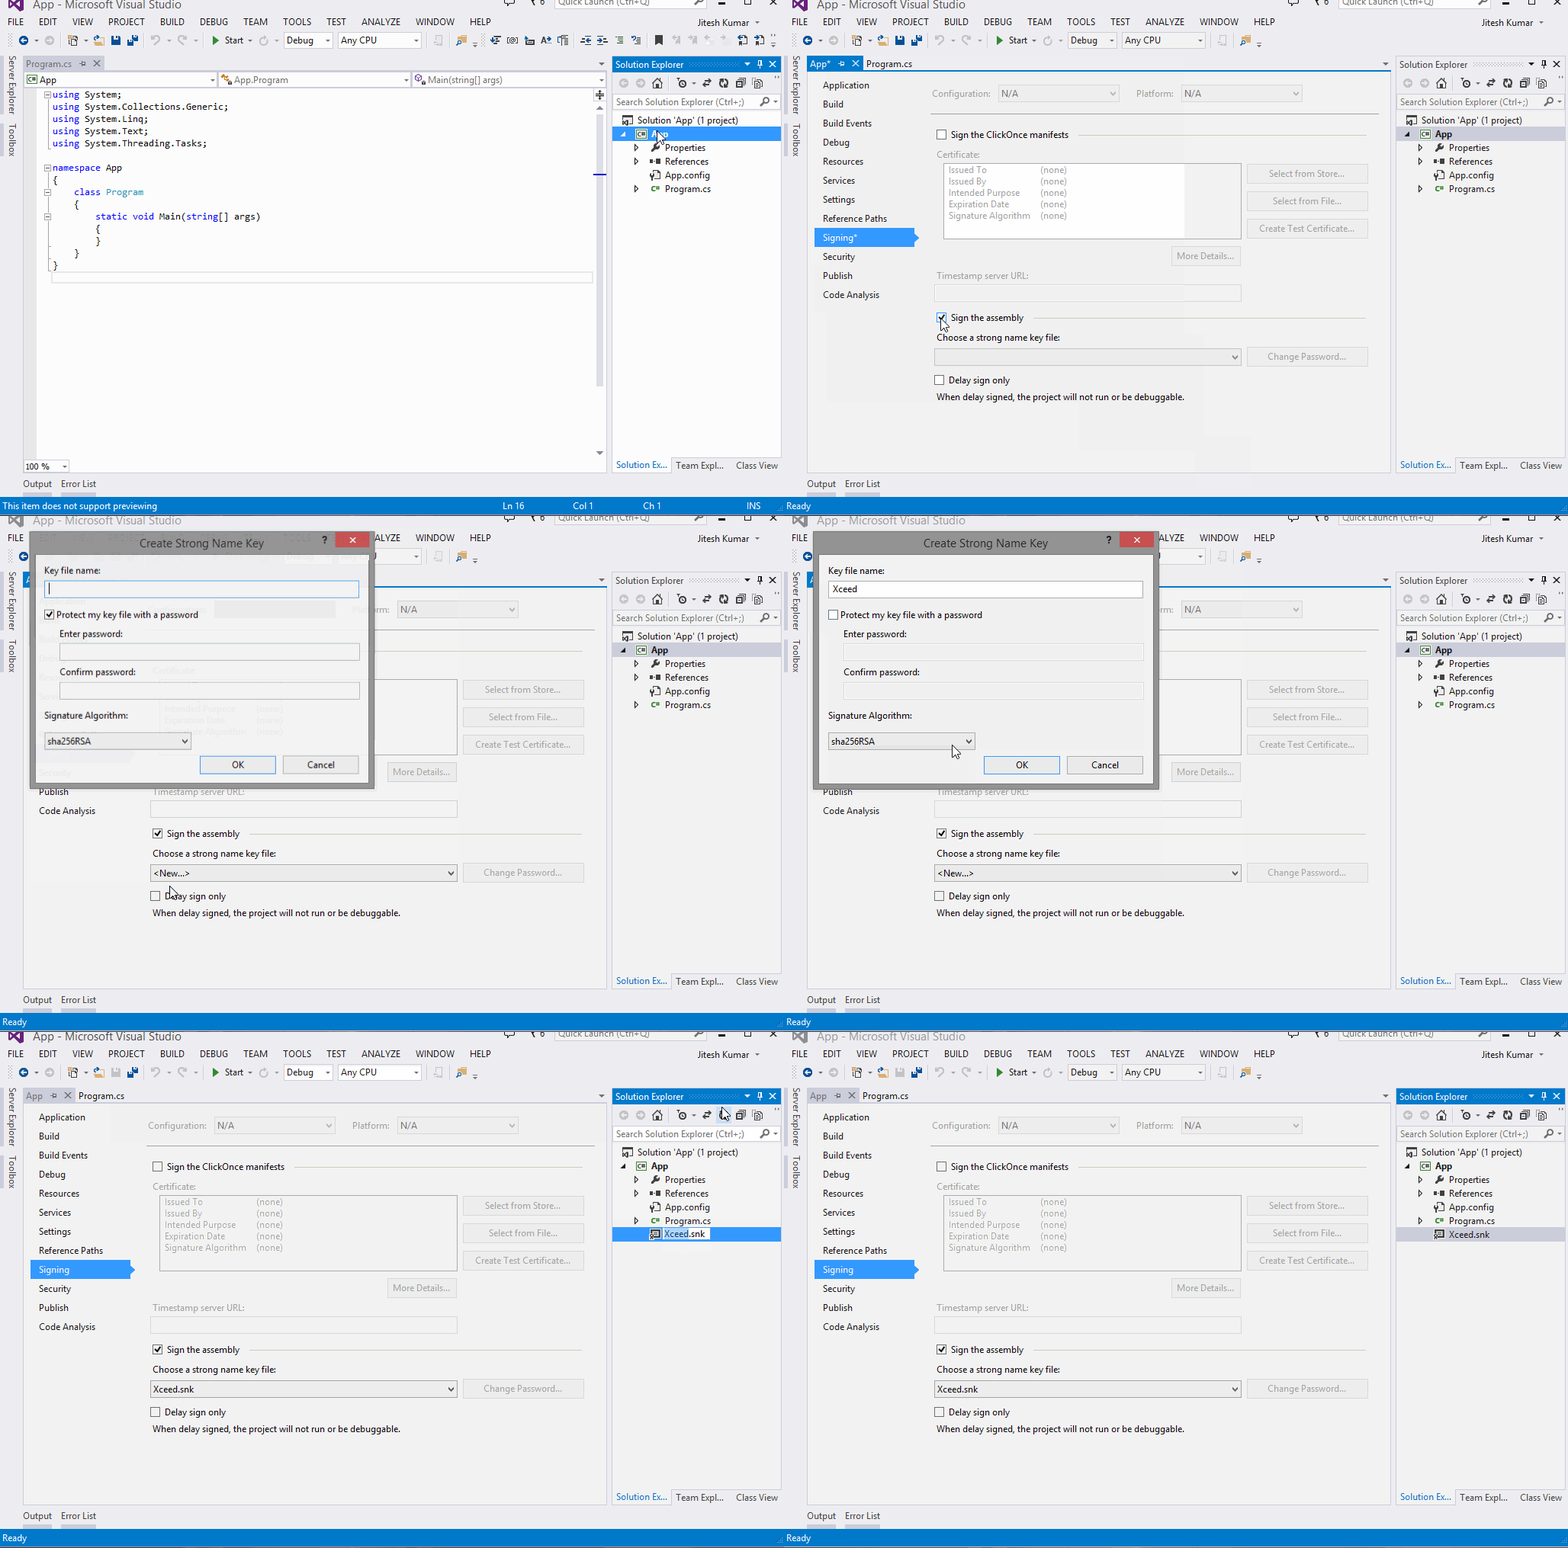
1. Open Solution Explorer and open Properties.
2. Click on the Signing option
3. Checked on Sign the assembly
4. Choose strong name key file, select <New...>, and enter strong name in the TextBox and click OK.

Step 2
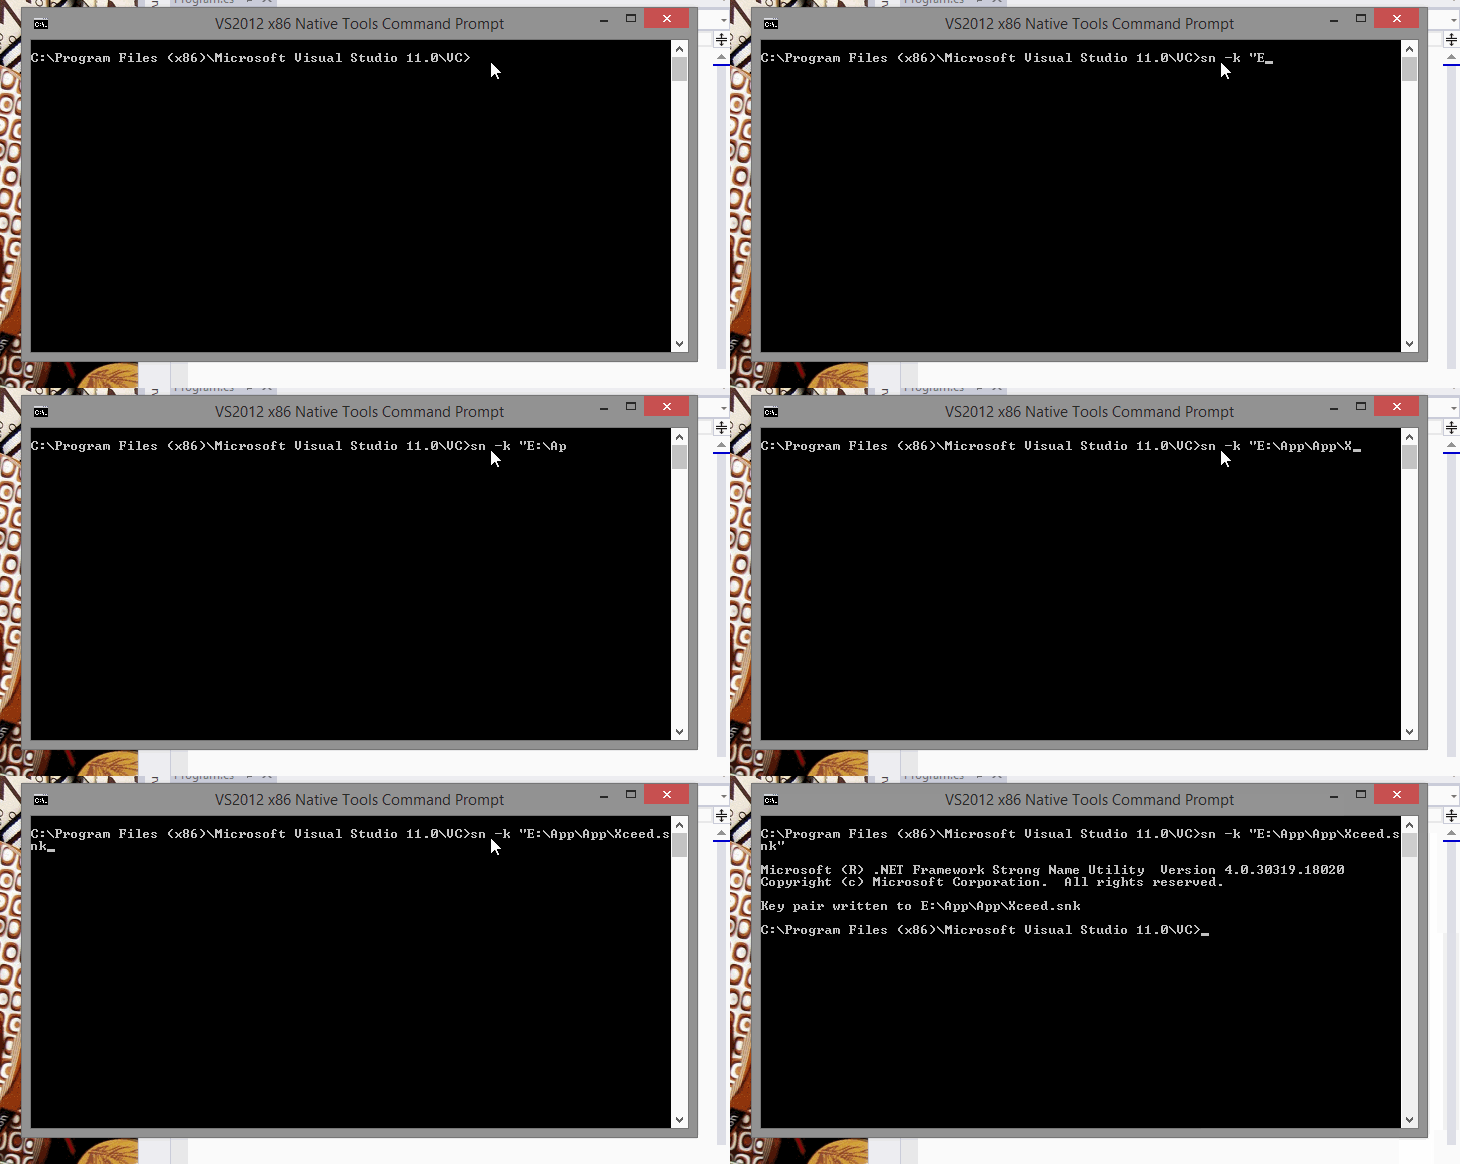
sn –k “E:\App\App\Xceed.snk”
Step 3
De-assemble the assembly
Use ildasm to create intermidiate language file(.il) from your dll which contains diassembled listing of dll
ildasm /all /out=”E:\App\App\Keys\Xceed.il” “E:\App\App\bin\Xceed.Wpf.Toolkit.dll”
Step 4
Re-assemble assembly using strong name
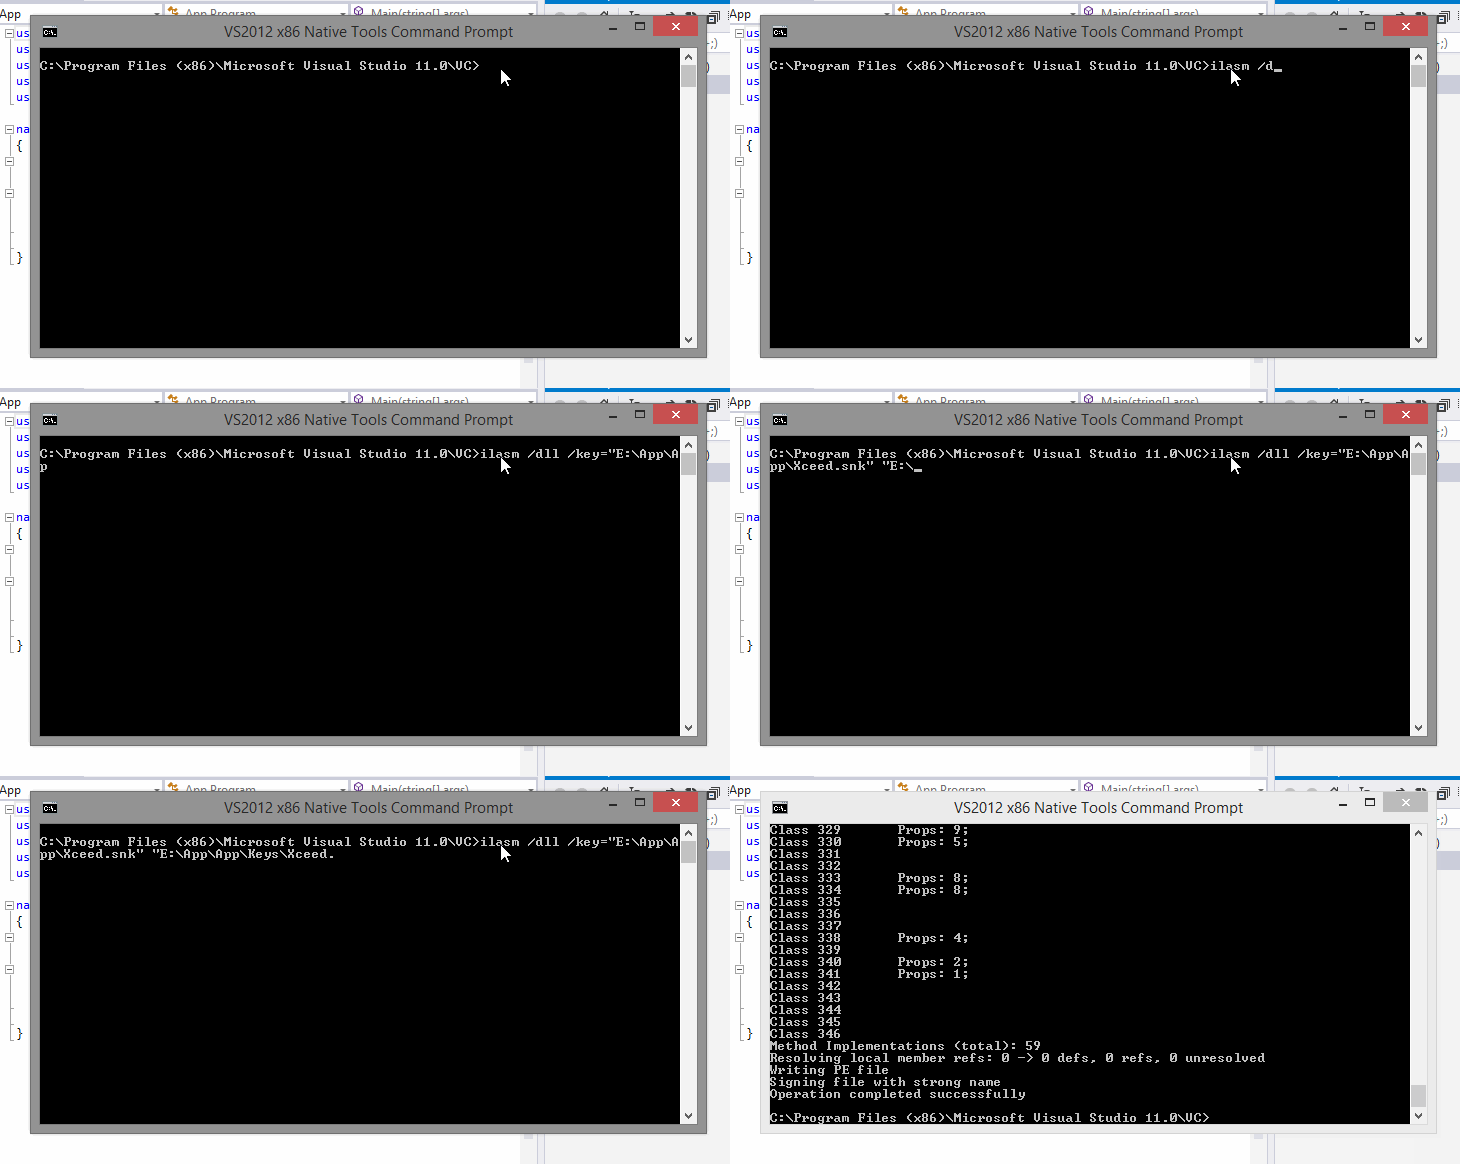
Use ilasm to create dll from .il file which is signed by .snk file
ilasm /dll /key=”E:\App\App\Xceed.snk” “E:\App\App\Keys\Xceed.il”

Step 5
Now you dll file is signed. to verify to it run following commands.
sn –vf “E:\App\App\Keys\Xceed.dll”


